Over 2000 processed GFX 50S raw photos later, this workflow still holds up.
In part 2, I described a workflow using Adobe DNG Converter and EXIFTool to finagle the GFX 50S raw files into Capture One and correct the colors by applying my custom ICC profile. My initial impression was the processing overhead is fairly minimal and a small price to pay for continuing to use Capture One. I'm happy to report that this remains true even after running thousands of photos through the workflow!
So that's it. We're done, right?
Well, not quite. The last two points on color that I want to touch on are: using other ICC profiles and reproducing film simulation colors.
Using Other ICC Profiles
The ICC profile that I created in part 2 is general purpose and works for most of my shooting situations. Though I do find that sometimes it is a bit on the colder side. Nothing that a tweak to white balance can't fix, but I became curious after seeing other people on the Fujifilm GFX Facebook group use different ICC profiles.
Many were using the Phase One IQ250 ICC profile since it uses a similarly-sized sensor as the Fujifilm GFX 50S. Whether they use the exact same sensor is unclear. However even if they use the same sensor, each manufacturer is likely to tweak the sensors to their in house specifications. Regardless, let's give it a go!

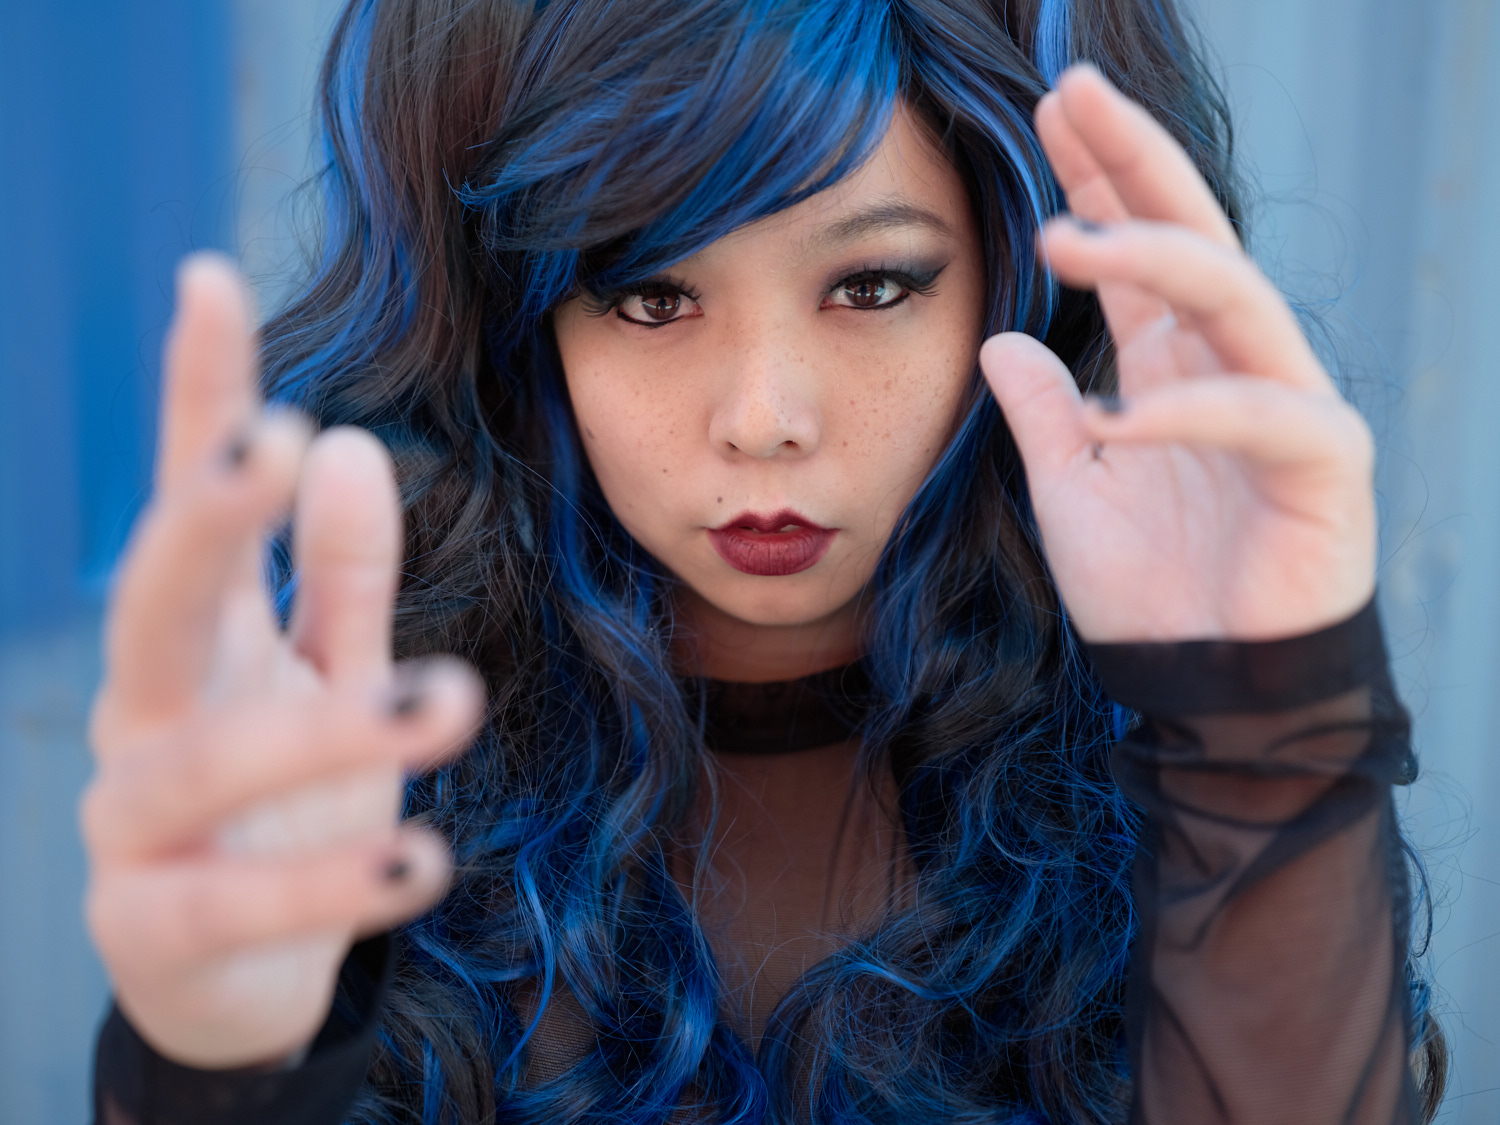

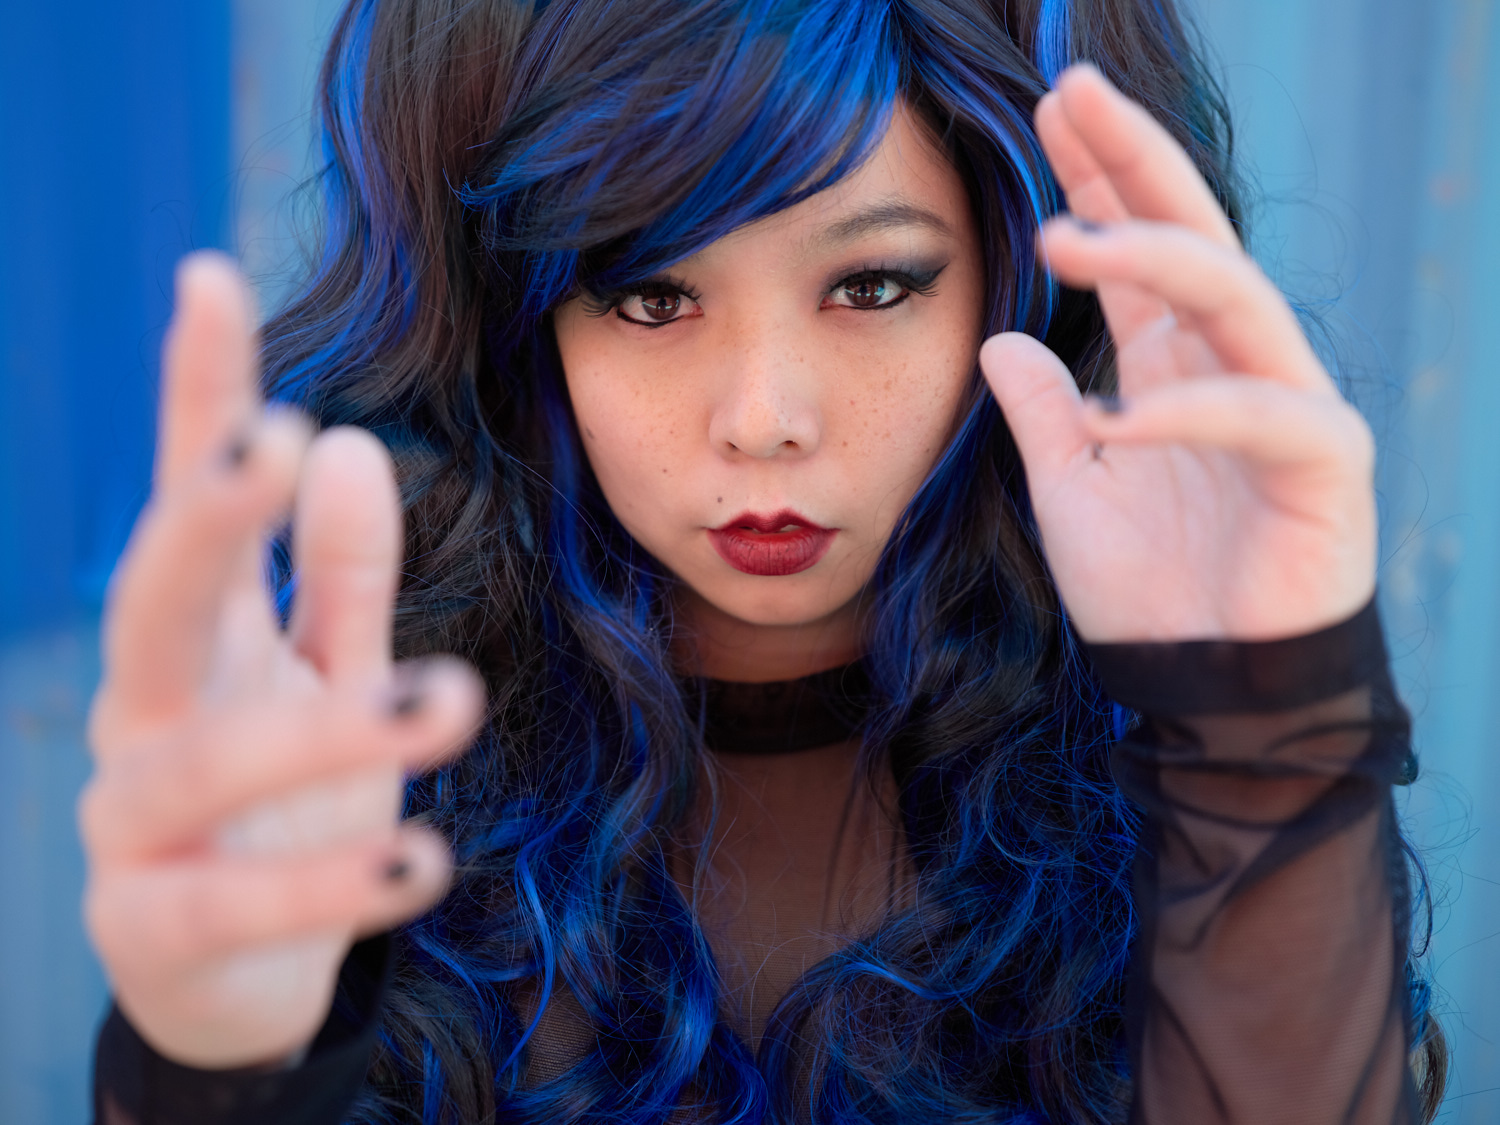
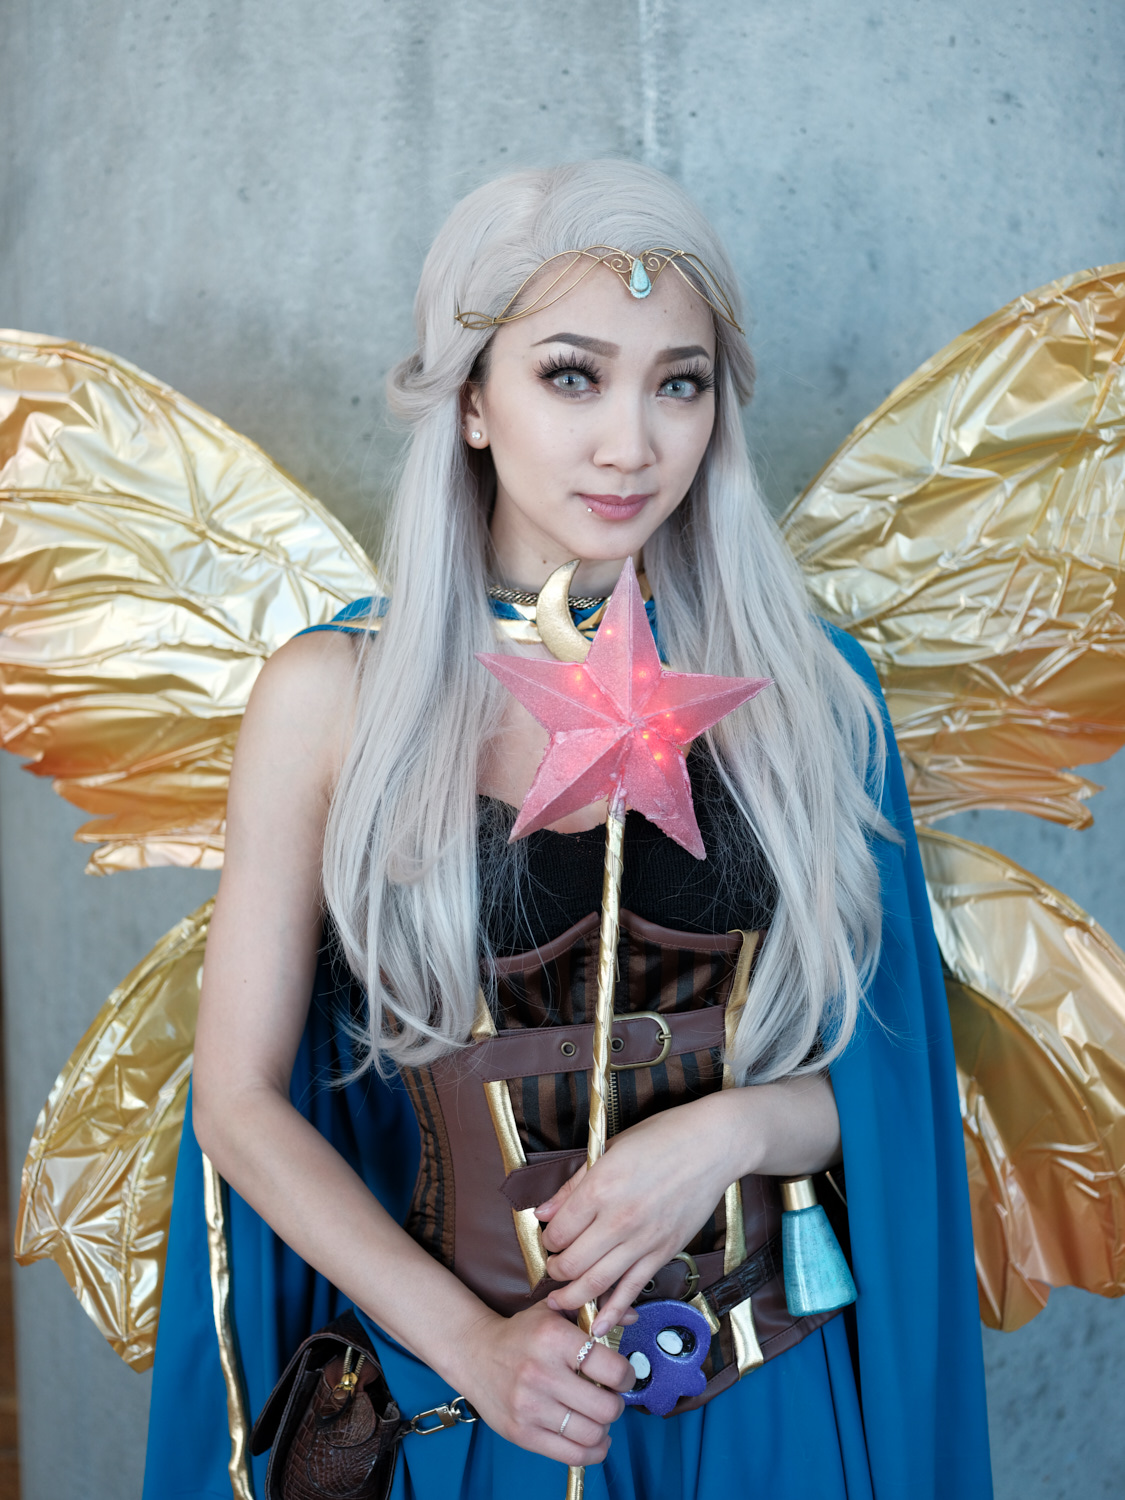
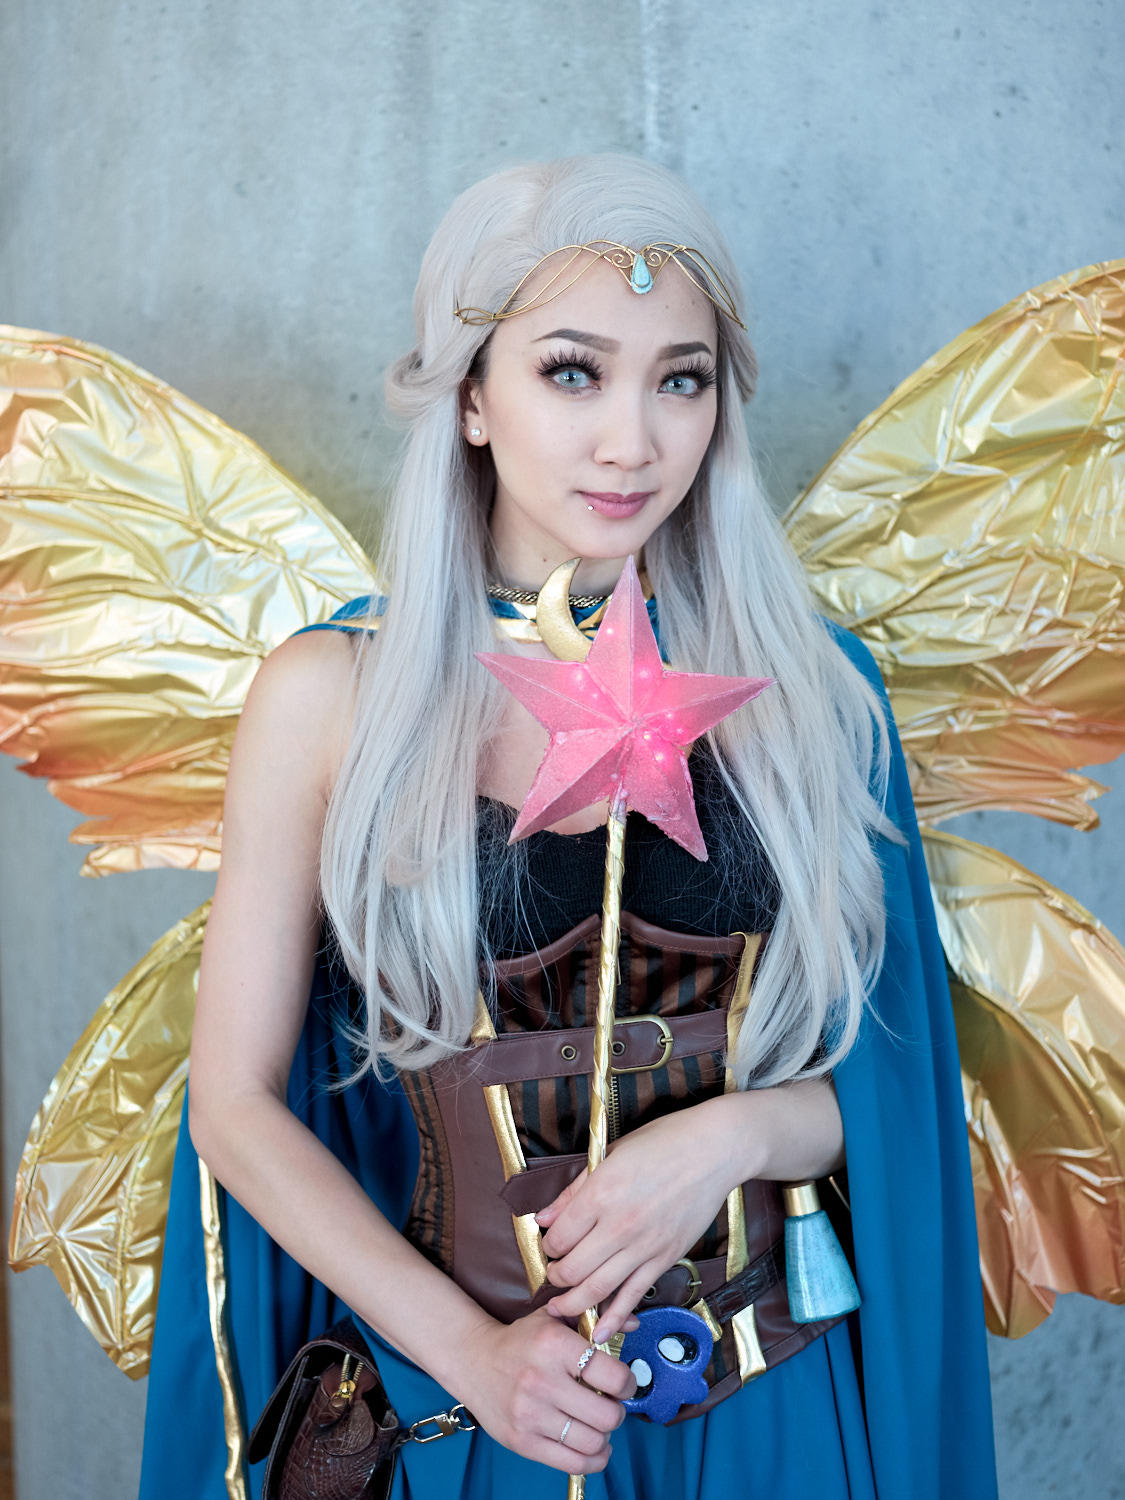
Here's another ICC profile comparison. This time with the Leaf Credo 50, which is also a Sony 50MP 44x33mm CMOS sensor.
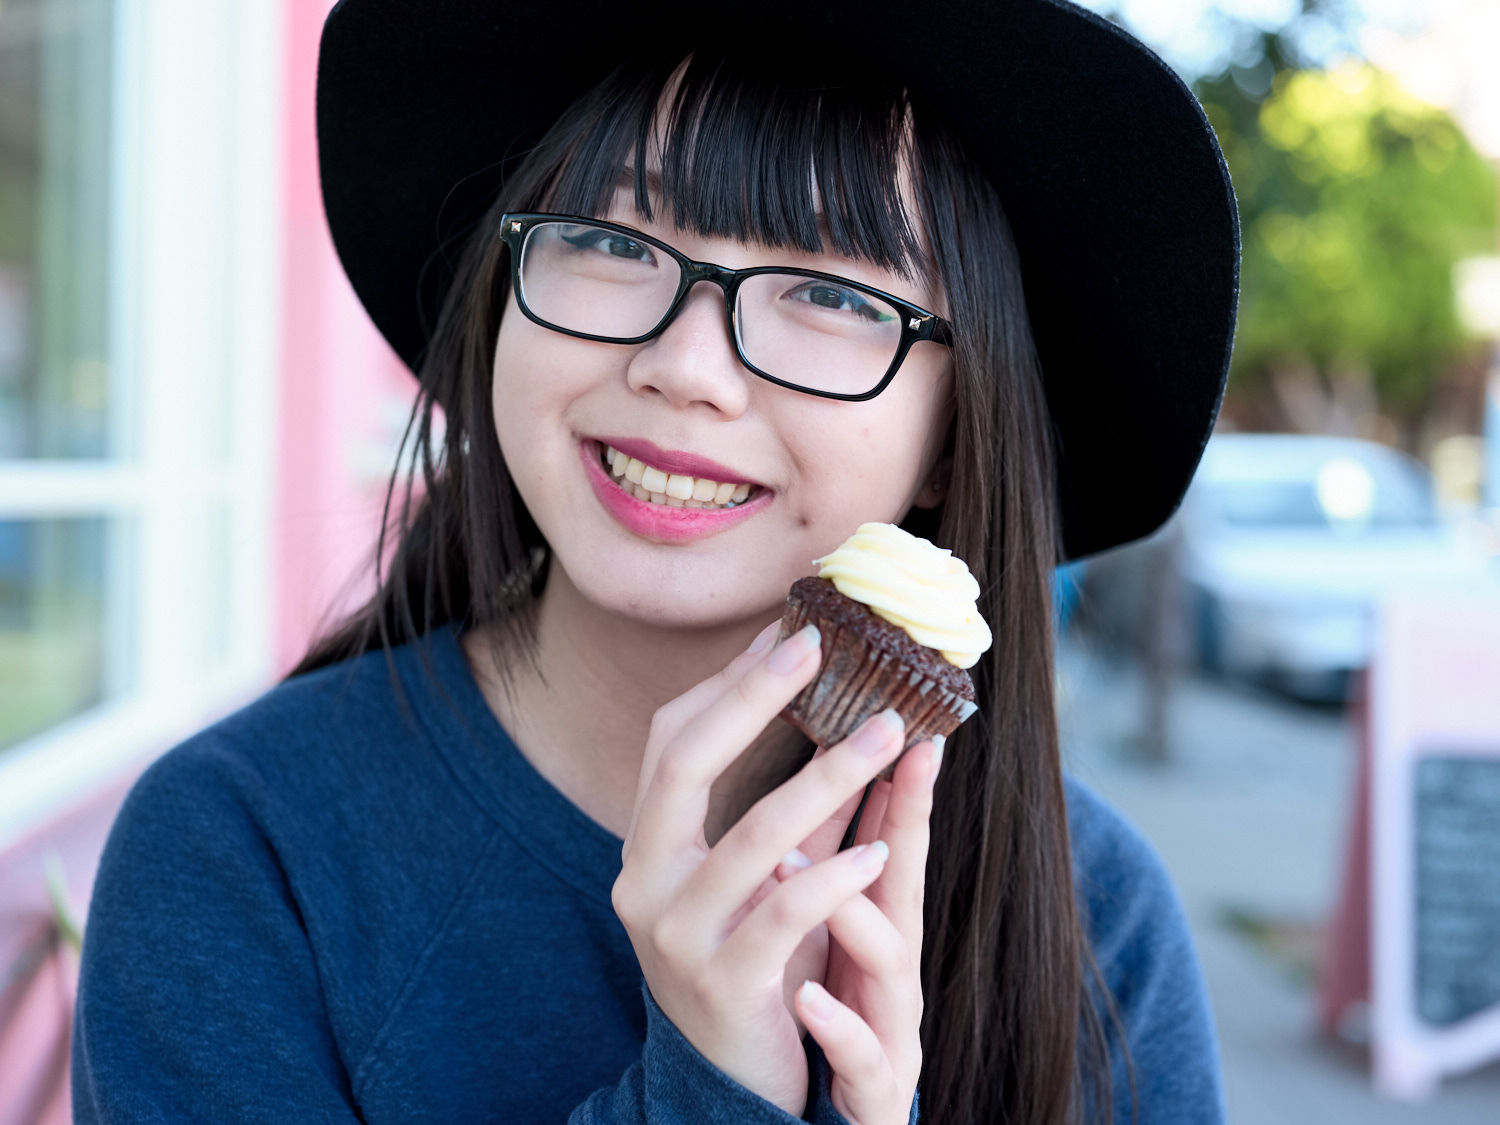
It's worth noting that this photo was taken under difficult lighting conditions as far as colors go. While shot in the shade provided by the shipping containers, the blue and orange containers did cast their colors fairly strongly. Obtaining a good white balance by eye was a tough endeavor.
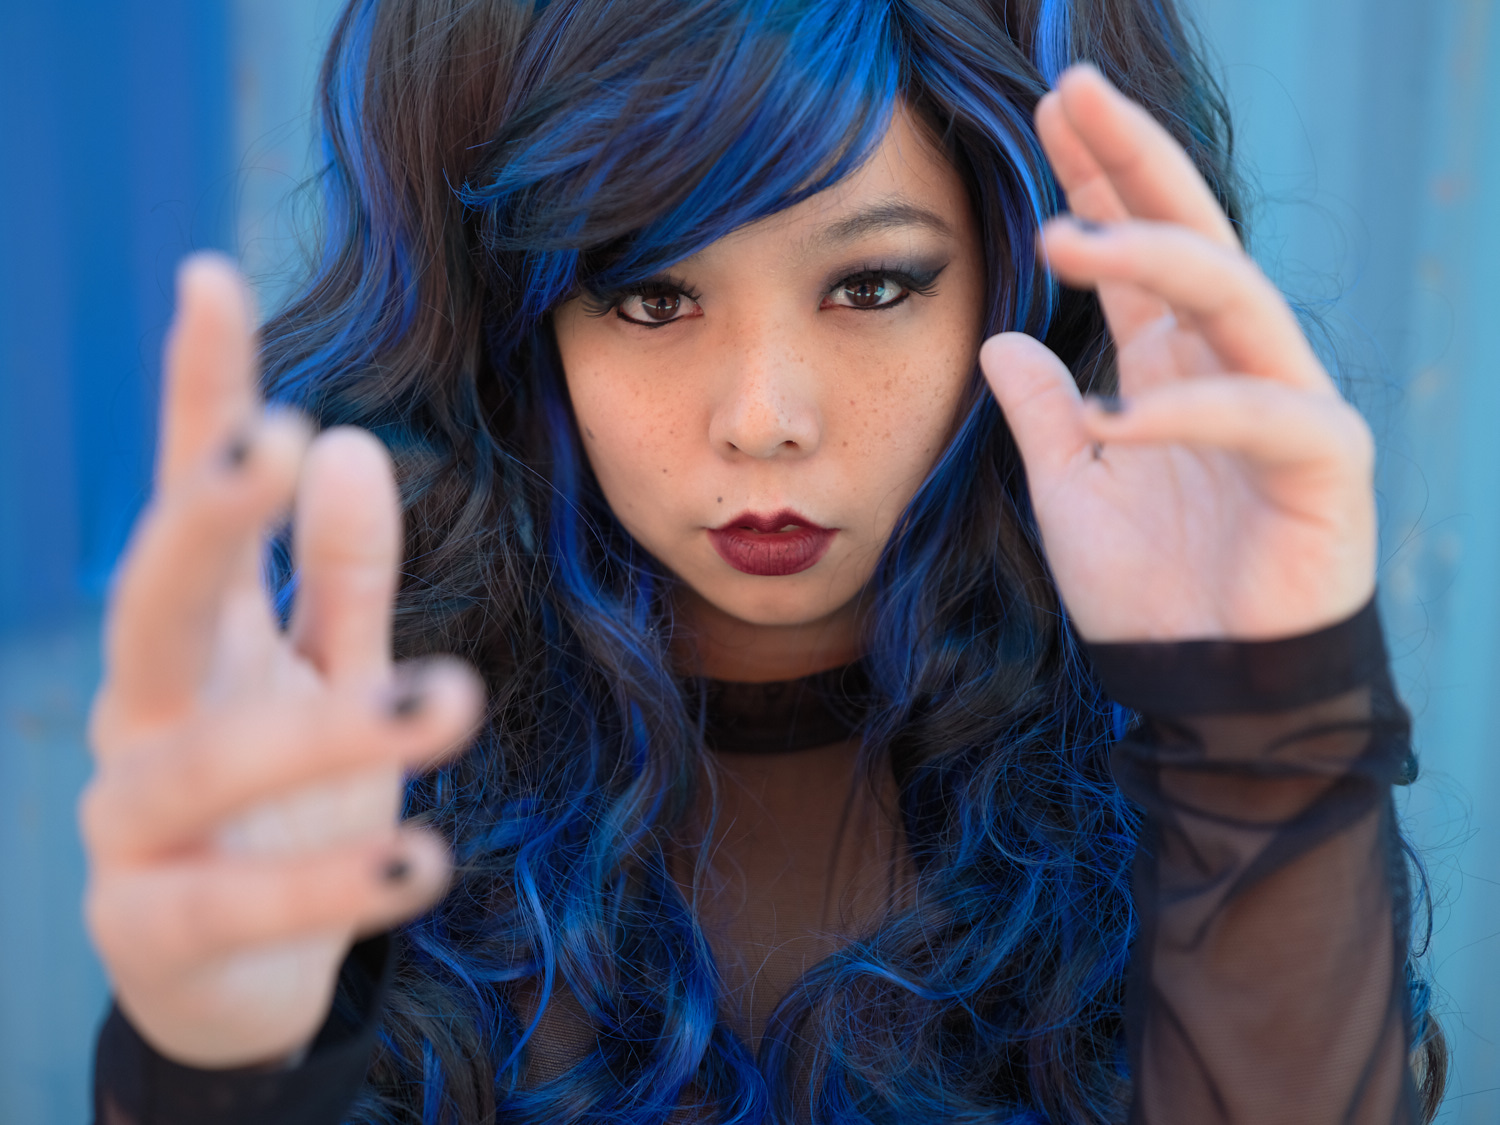
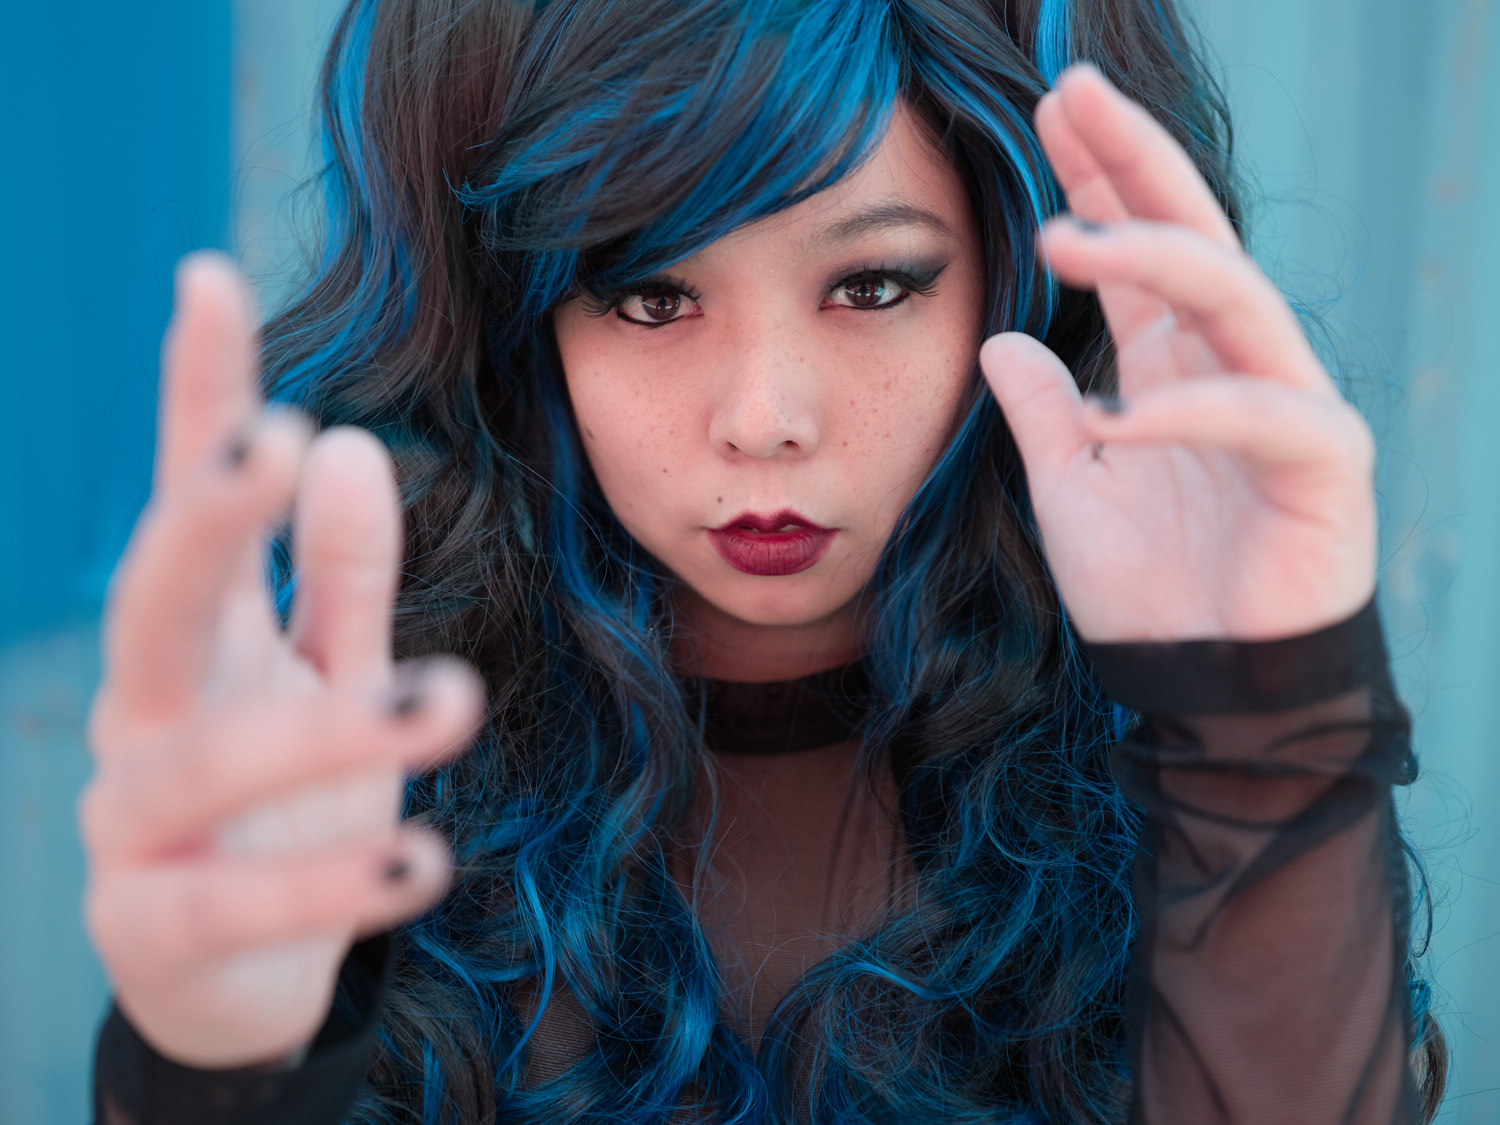
The comparisons show that there really is no right or correct color profile to use; each profile is merely different. Whether that difference adds to the photo's mood or just looks better is all subjective. If the aim is to have perfect color rendition every time, I would use a color checker periodically during a shoot.
Reproducing Film Simulation Colors
I wish that Fujifilm cooked the GFX 50S raw files with the film simulation parameters. The out of camera renders are extremely good and sometimes makes me question why I even bother working with raw files.

At the end of the day though, all I really care about is the Classic Chrome look. I have Alien Skin Exposure X2, which has me covered for Acros, Provia, Astia, and Velvia film simulations. VSCO doesn't appear to have a Classic Chrome preset either when I looked (and I wouldn't want to use Lightroom for it anyways). So with my eyeballs and a trial and error, I created a Capture One style that roughly approximates the Classic Chrome look.

For the Classic Chrome style, I used the following settings:
Exposure
+10 Contrast+10 Brightness-15 Saturation
High Dynamic Range
+10 Shadow
Curve
(10, 0) Input, Output
Color Editor
-15 Blue Hue-10 Blue Saturation-10 Red Hue+5 Red Lightness
To save the modifications as a user style, Capture One has online documentation for creating the style. Note that creating styles is only available for the Pro versions of Capture One.
The style I created is a tad brighter and a little pinker. Also noticeable in the comparison is lens correction is performed on the JPG. It's not perfect, but it's close enough for me.
Parting Thoughts
I'm pleased that this workflow works for me. Of course I would prefer if Capture One had official support for the GFX 50S RAF files, lens corrections, and film simulations, but this will do.
Color profiles are still a tricky thing to get right and I'll continue to experiment more with ICC profiles under different lighting conditions. At the very least any odd colorations can be corrected in Capture One by adjusting white balance or curves.
Now that it's all settled, I can focus more on shooting and less on experimenting. Thanks for reading along!