There's already an abundance of articles and blog posts singing the praises of the GFX 50S, and delving into its technical specs. This will not be one of those posts.
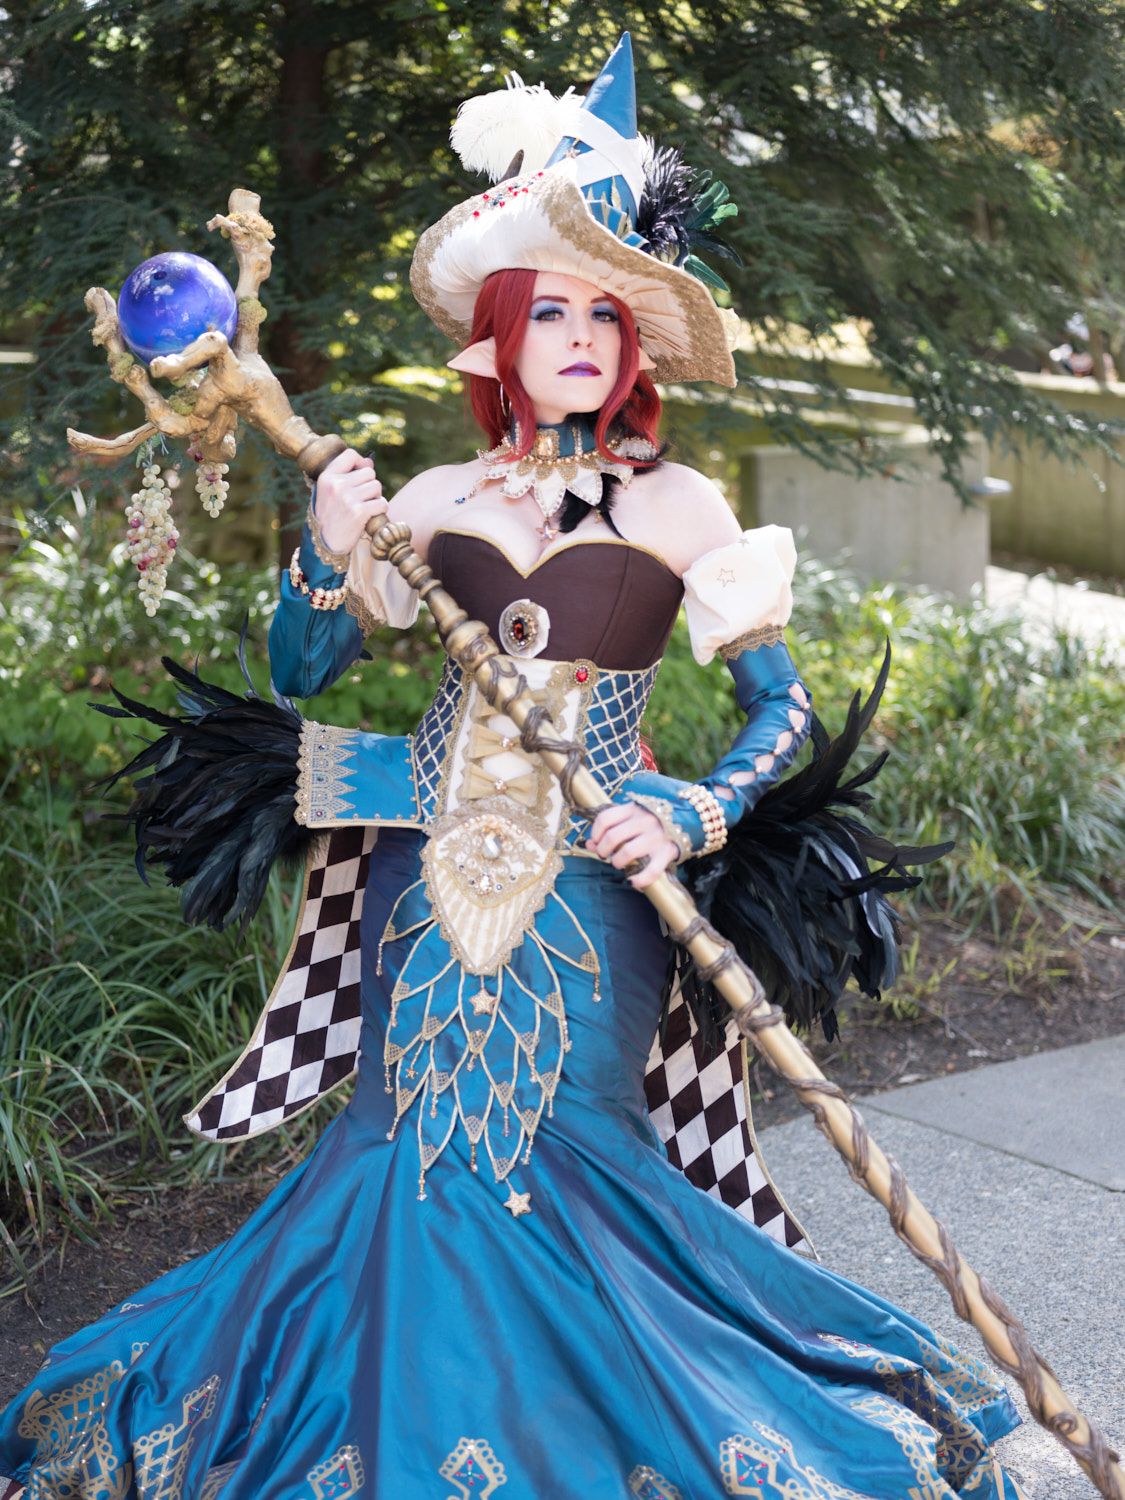
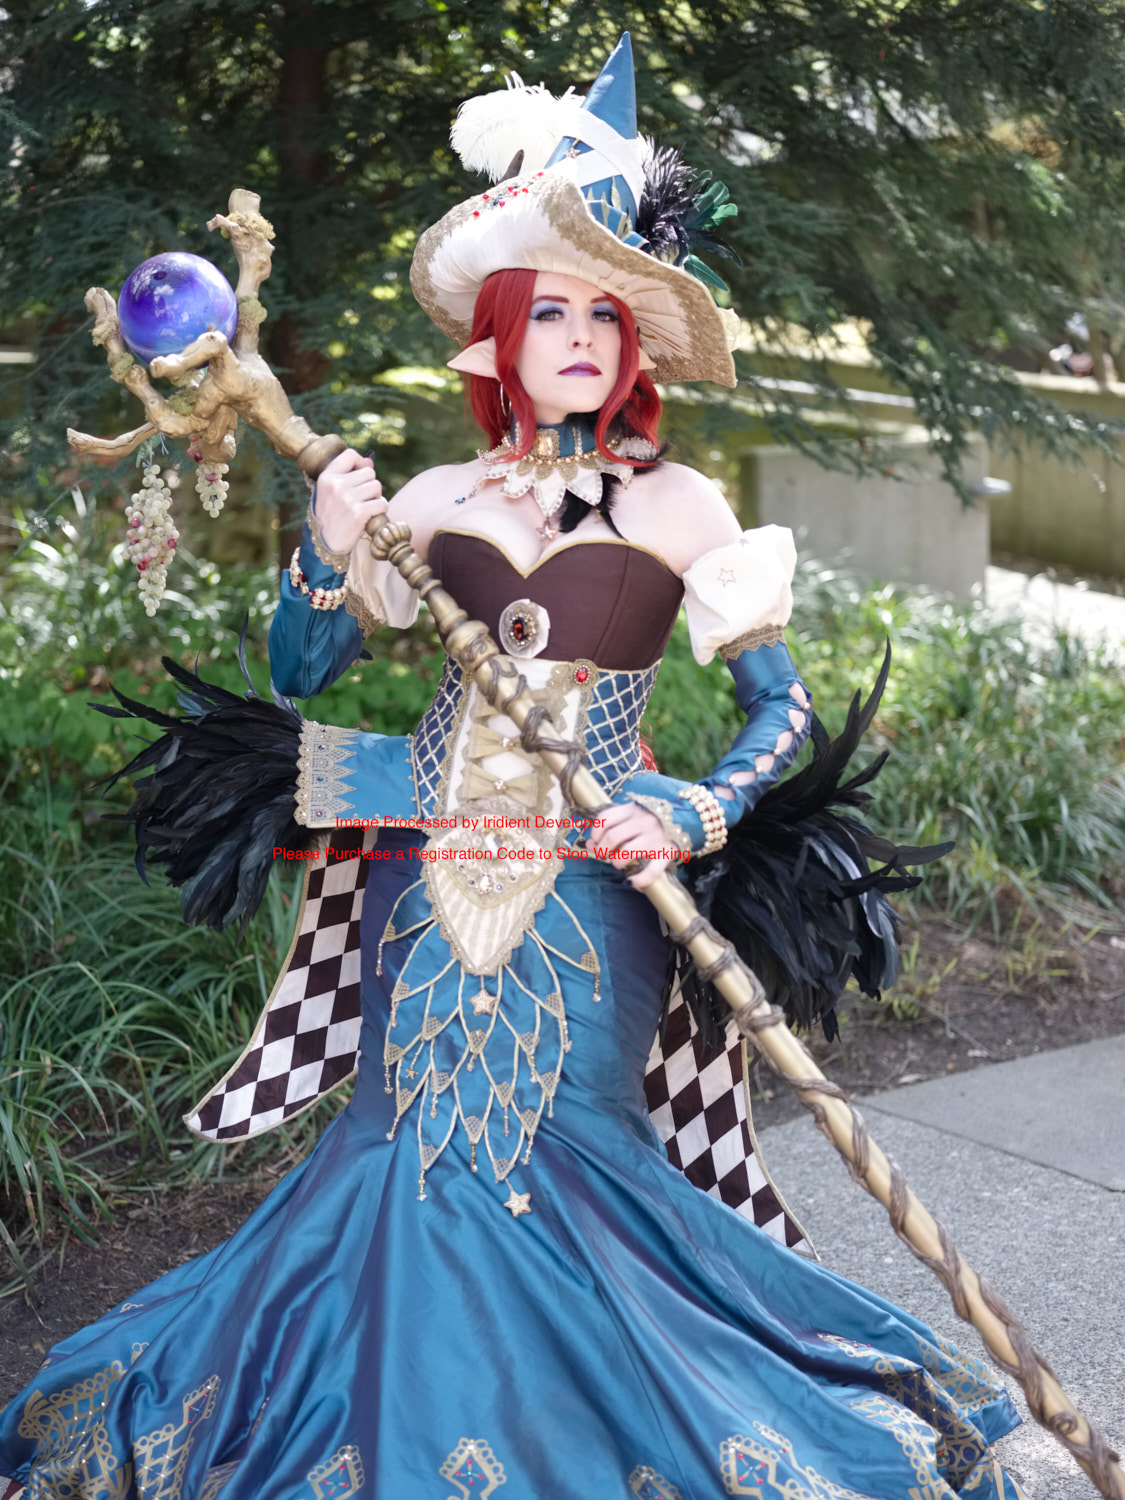
I primarily use the GFX 50S for environmental portraiture, going on location or shooting guerrilla style. Compared to the Sony A7rII, the GFX's superior ergonomics is what won me over. The transition from the A7rII to the GFX hasn't been without its hiccups though. I use Capture One Pro as my main editing and management software, and I love its workflow and rendering of images. To my dismay, Capture One Pro does not, and as of this writing will not, support the GFX 50S.
Well crap.
For my first couple of shoots, I just used Lightroom since I just wanted to edit the photos quickly and didn't really want to spend the time to fuss around with figuring out a new workflow yet. Coming back to Lightroom was a frustrating experience after using Capture One Pro for the past 4 years. However, it did do the job of importing the RAF files and had options to change the color profiles to correspond to the in camera film simulations.
I wasn't necessarily unhappy with the results, but afterwards I realized that now my catalogs were split between Capture One and Lightroom. For my future sanity I needed to tackle this problem sooner rather than later. I needed to figure out a workflow that will let me continue to use Capture One.
Finding a Capture One Workflow
Through trial and error, I learned about the peculiarities of trying to get a GFX 50S file into Capture One. I summed up my findings for Capture One version 10.0.2:
RAF files are not recognized as valid files for import.
Simply converting the RAF to DNG will not work. Capture One will not recognize it as a valid file to import.
Converting the RAF to TIFF will work and is recognized as a valid file to import.
Converting the RAF to DNG and using exiftool to change the Make of the camera from "FUJIFILM" to "FUJIFILM_" works and will import.
One interesting finding was that how the RAF is converted has a huge impact on the color of the converted image. Much more so than I would have expected. It's something that I now have to take into consideration when choosing a workflow.
What I'm Looking for in a Workflow
For evaluating workflows, I'm looking at:
Color
File size
Time to batch process raws
Color made it to the top of the list for evaluation when I was observing the difference conversion flows. While it may not be terribly important since the colors may change during the editing process, I'd still like to have the colors as close to what I captured. At the end of the day, I'd prefer to spend less time editing and more time shooting.
File size also makes the list since things can get out of hand very quickly!
Average Size
RAF (compressed): 50 MB
DNG (compressed): 100 MB
TIFF (compressed): 250 MB
TIFF: 300 MB
While the RAF file is pretty compact, an equivalent uncompressed TIFF takes up about 6 times as much space. For an average photo shoot session of 250 photos, that's roughly going to eat up 75GB of space for uncompressed TIFF! At a typical convention where I shoot about 5 - 6 photo shoots, that's pushing 450GB for a single day.
Finally, the speed at which the batch process conversion of RAF files is another important factor. I typically shoot around 10,000 digital shots a year, so I'd very much like the process to be as automatic and quick as possible.
RFC ⟶ Capture One
Raw File Converter EX 2.0 powered by SilkyPix (RFC for short) is the RAF converter program that is supplied free by Fujifilm. Since it's the official raw file converter, I'll use this workflow as the baseline for comparison with other workflows.
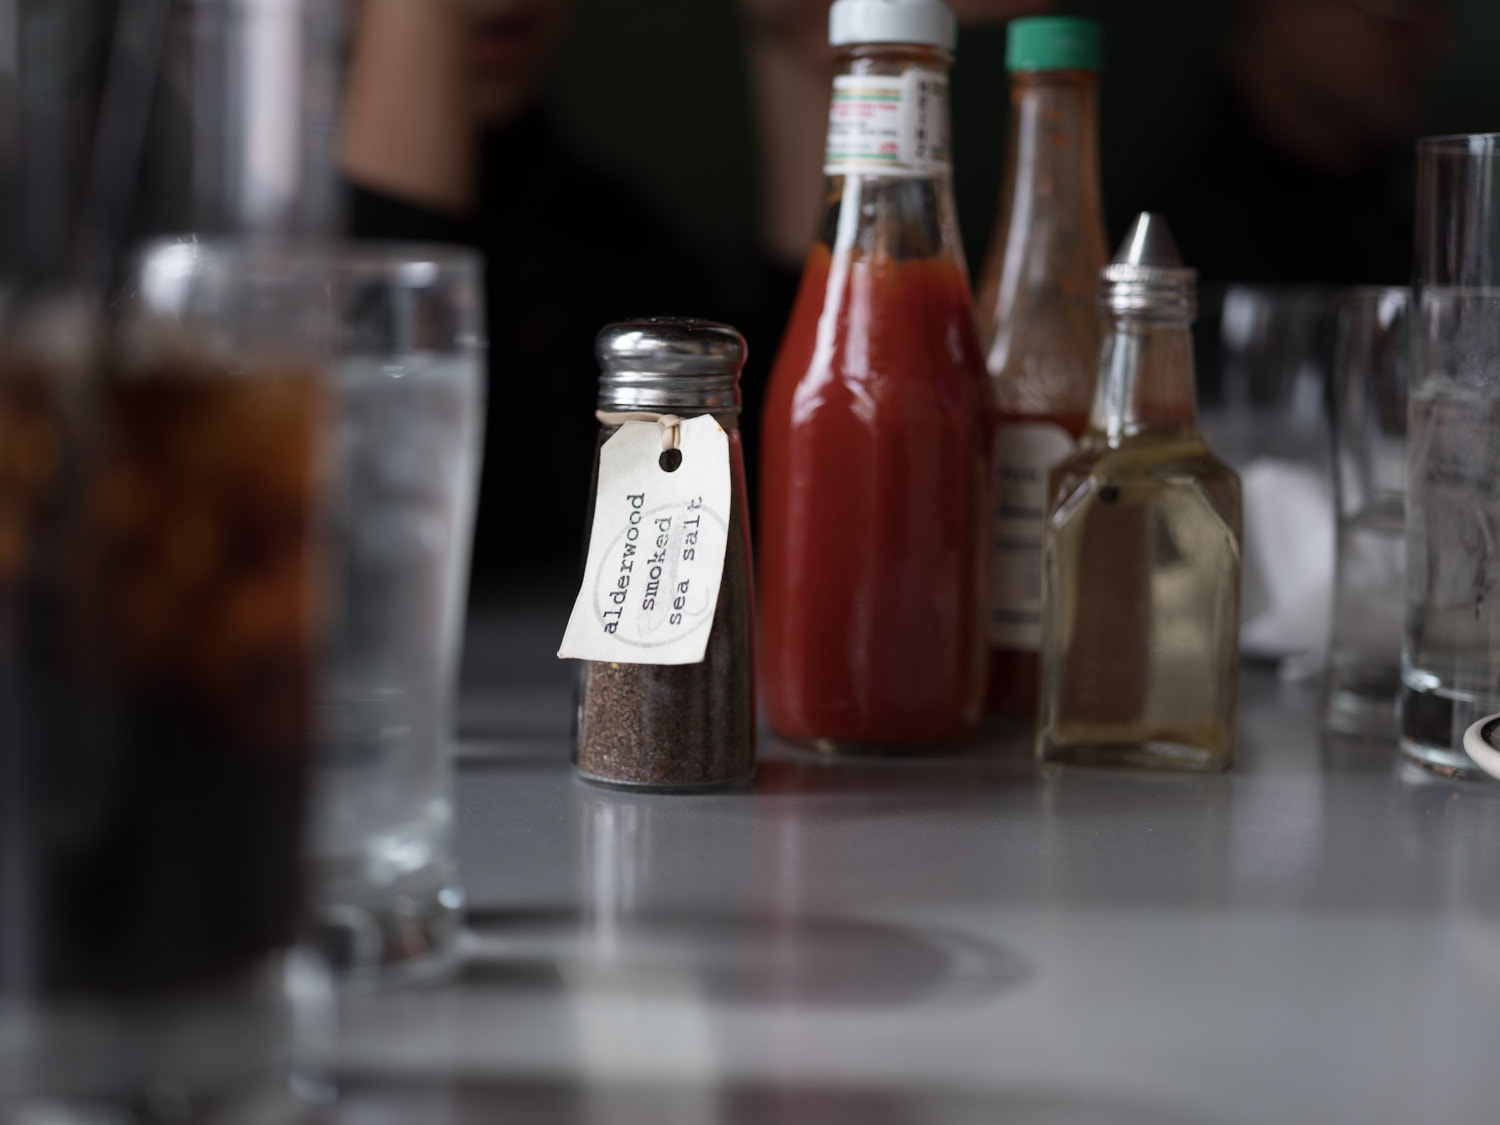
Since I plan to perform all my edits in Capture One, the only purpose that RFC will be to convert the RAF files into 16-bit compressed TIFF files. I left all of the settings at default and only changed the output TIFF settings.
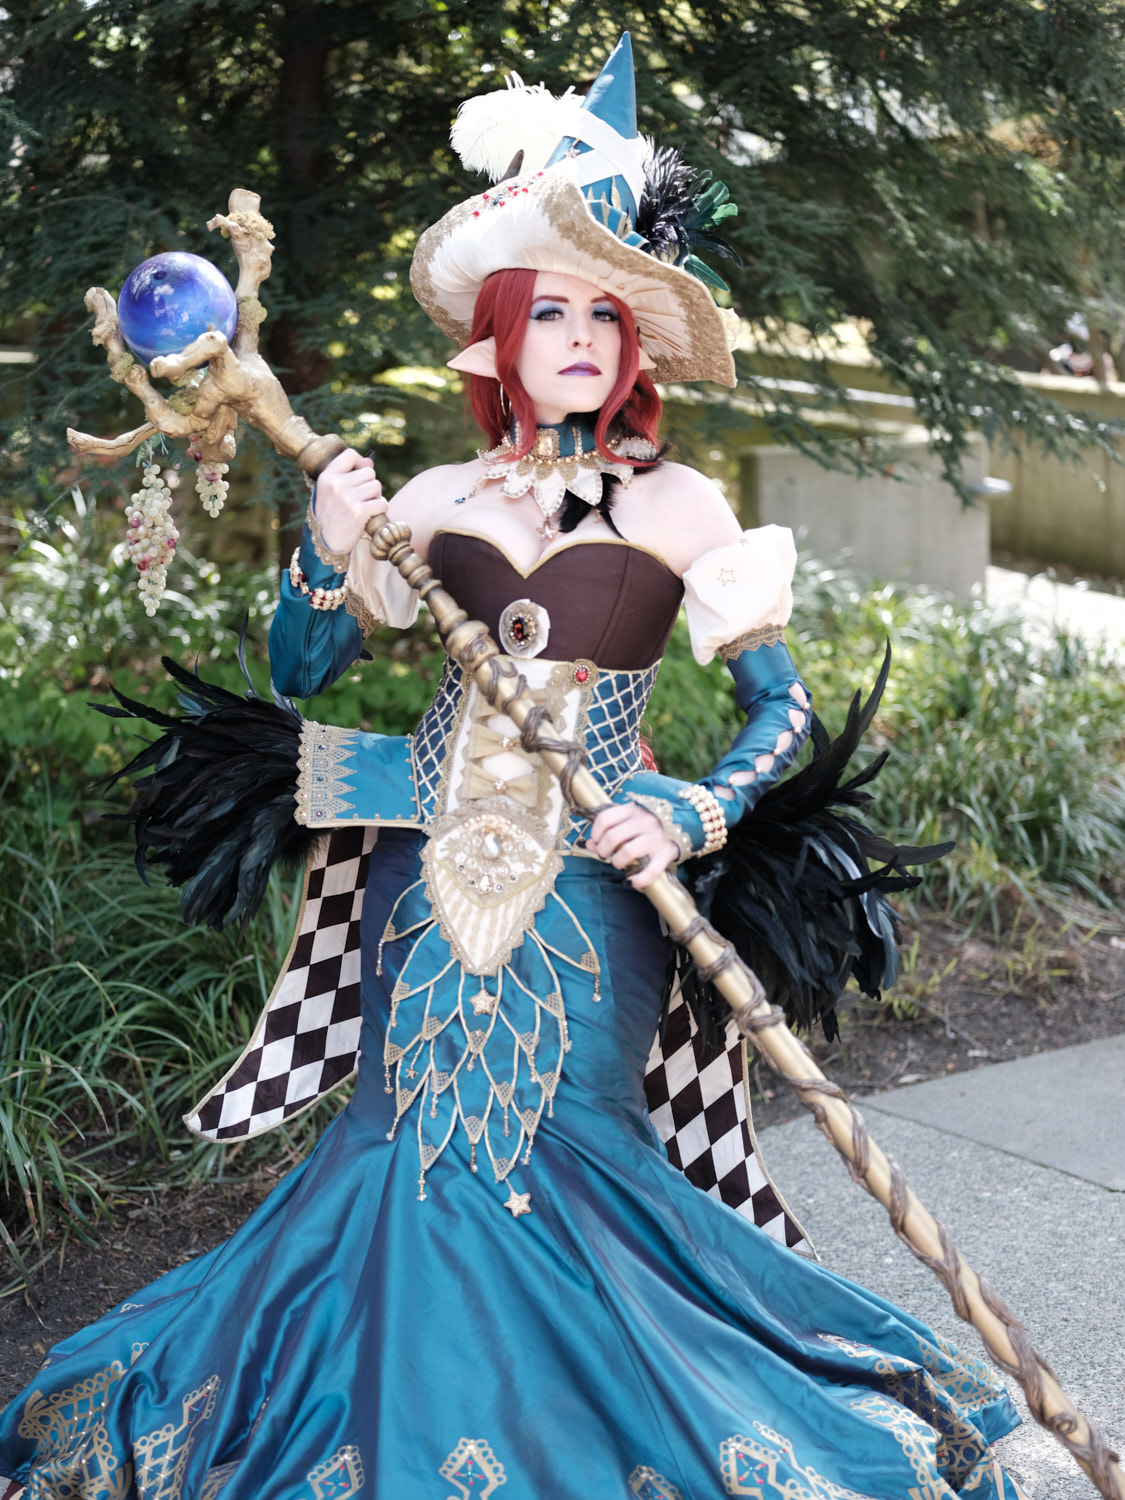
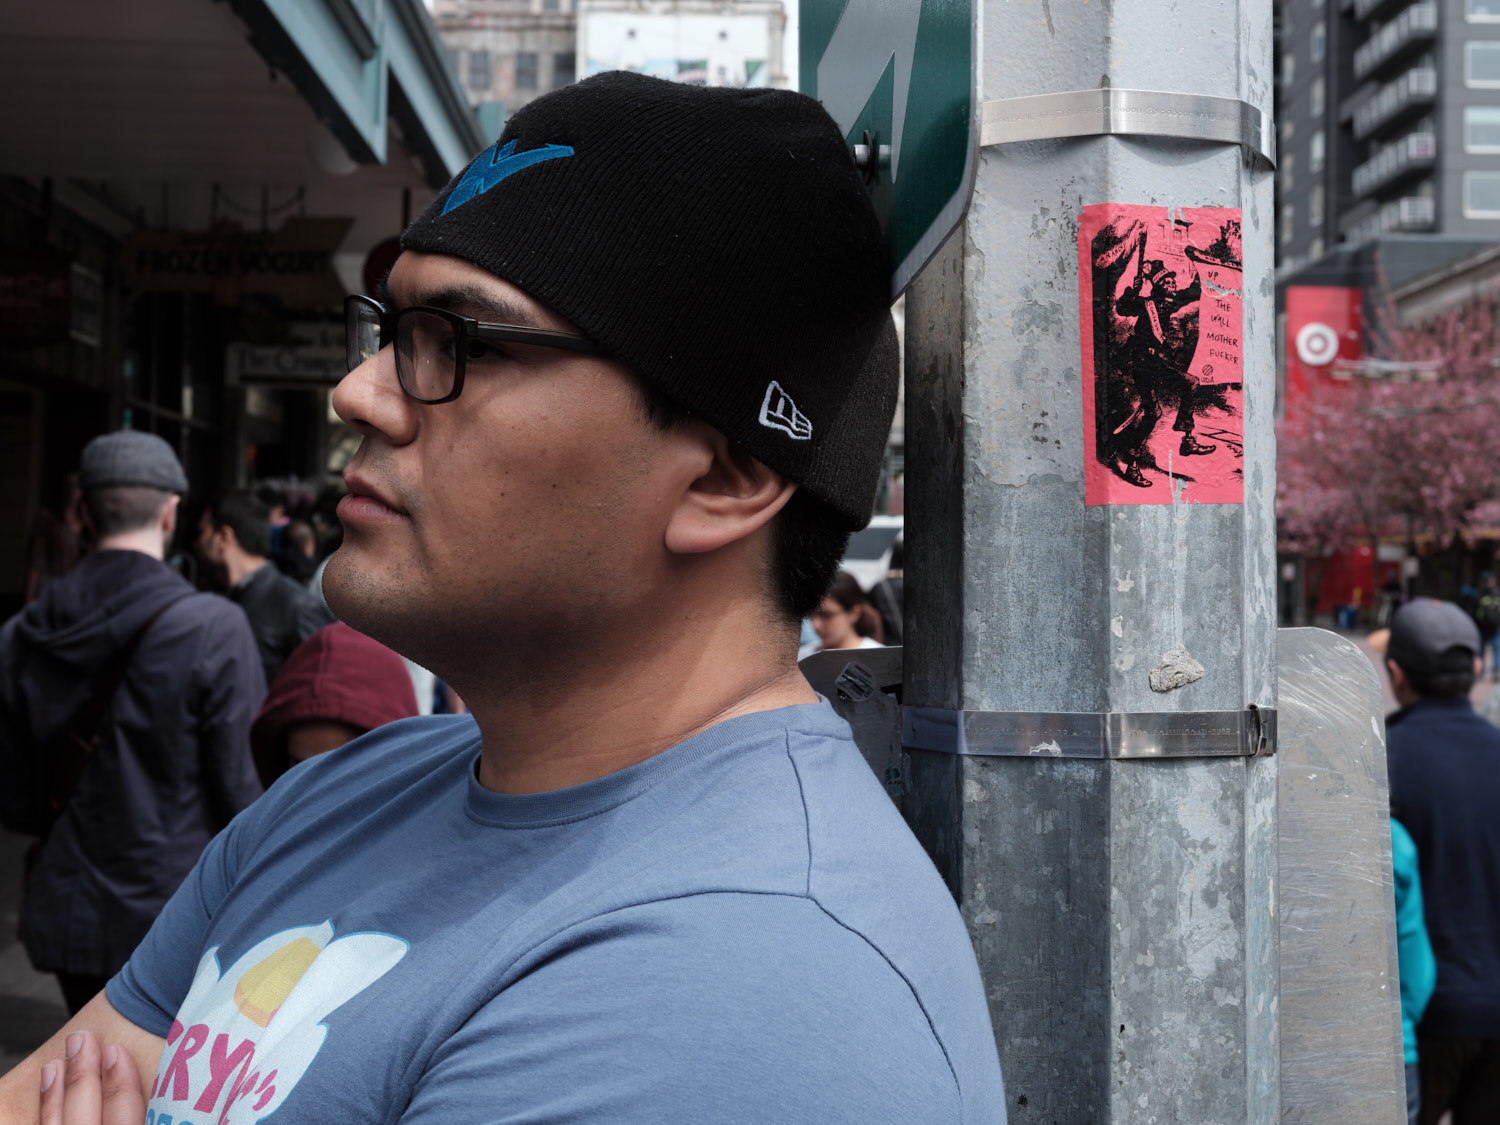
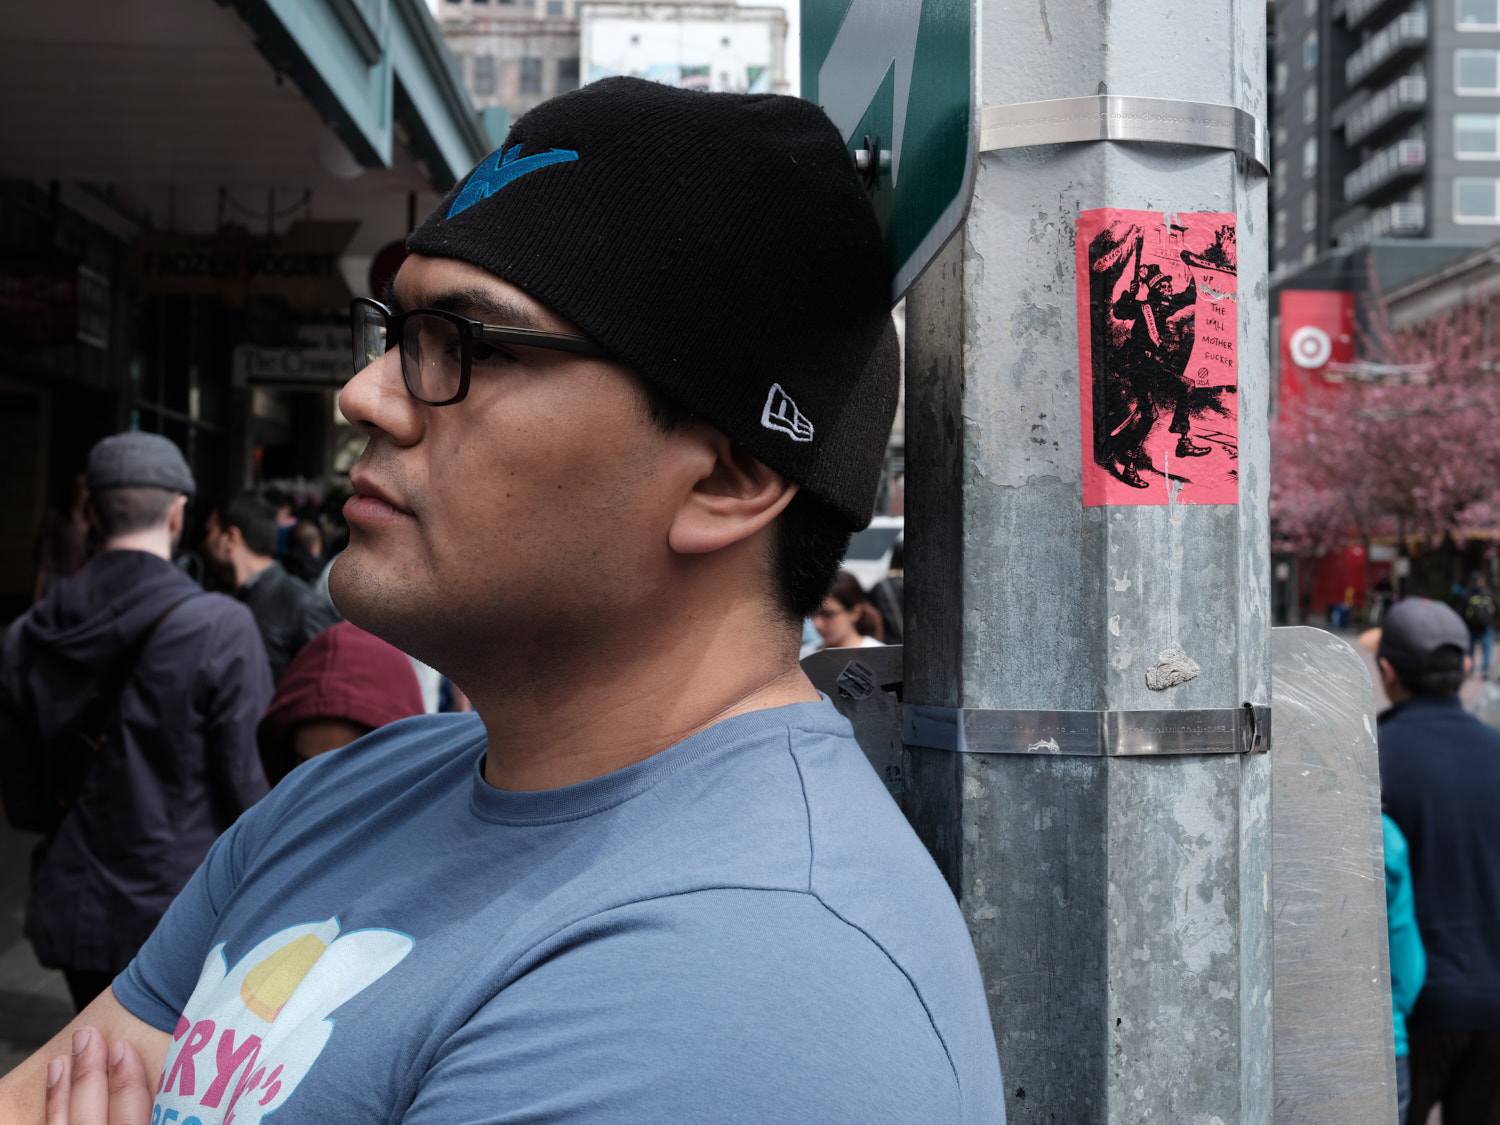
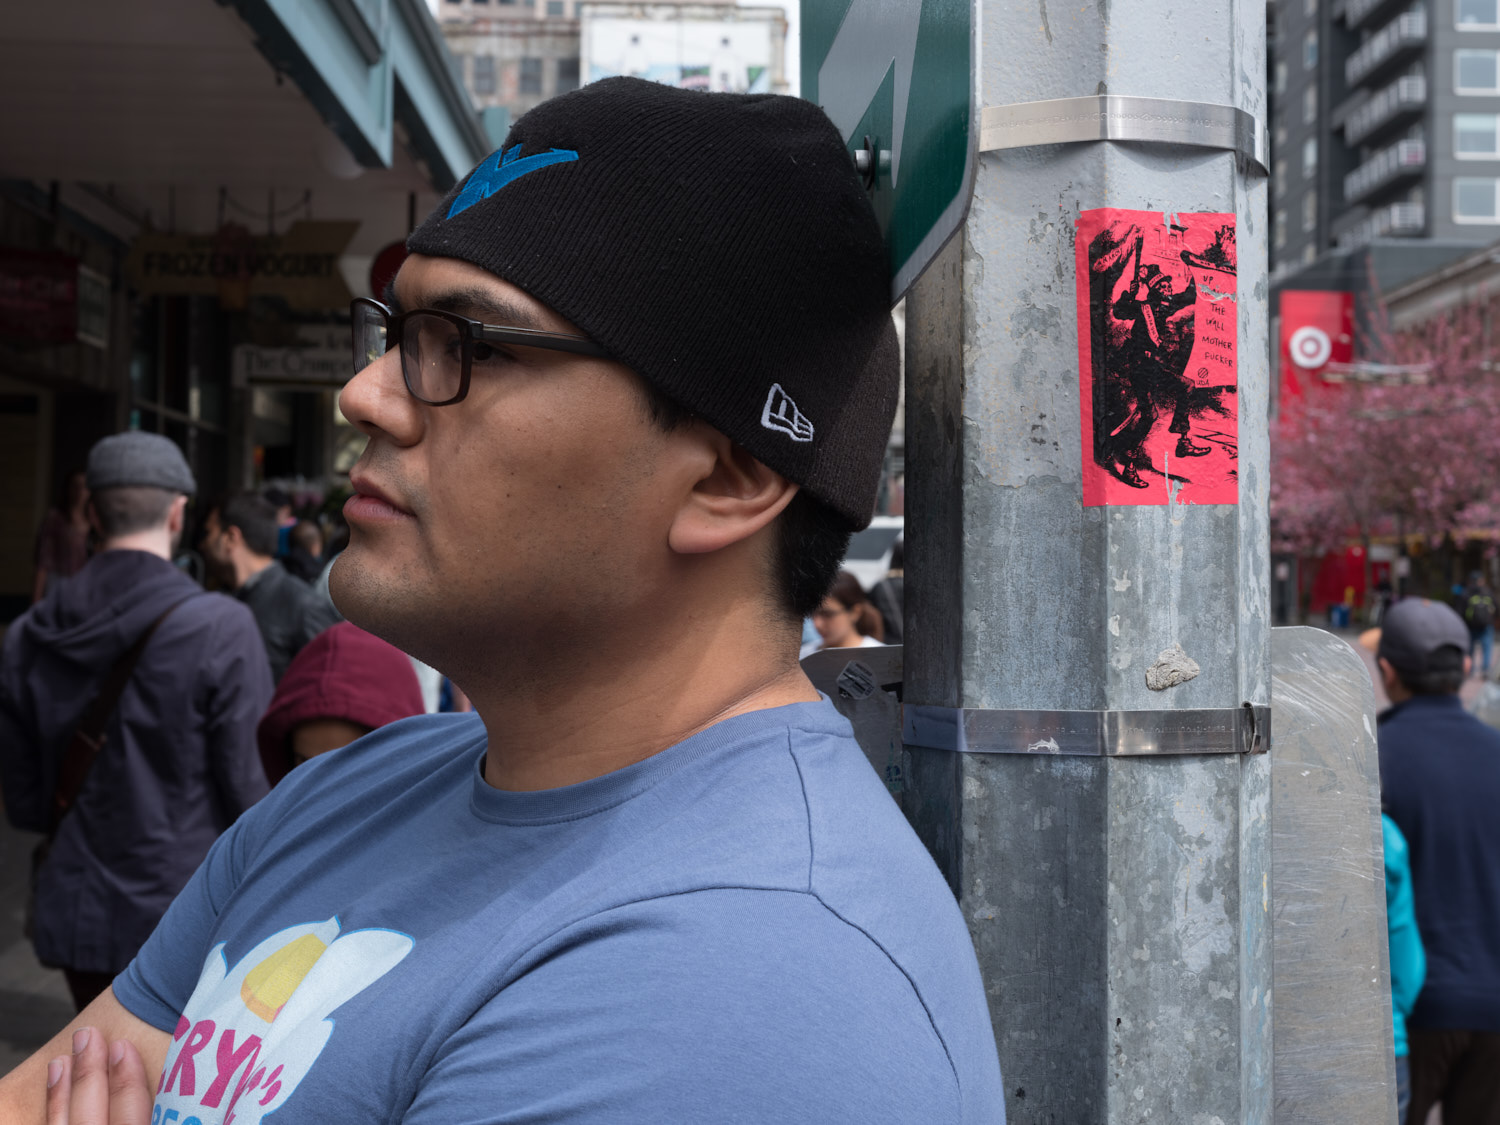
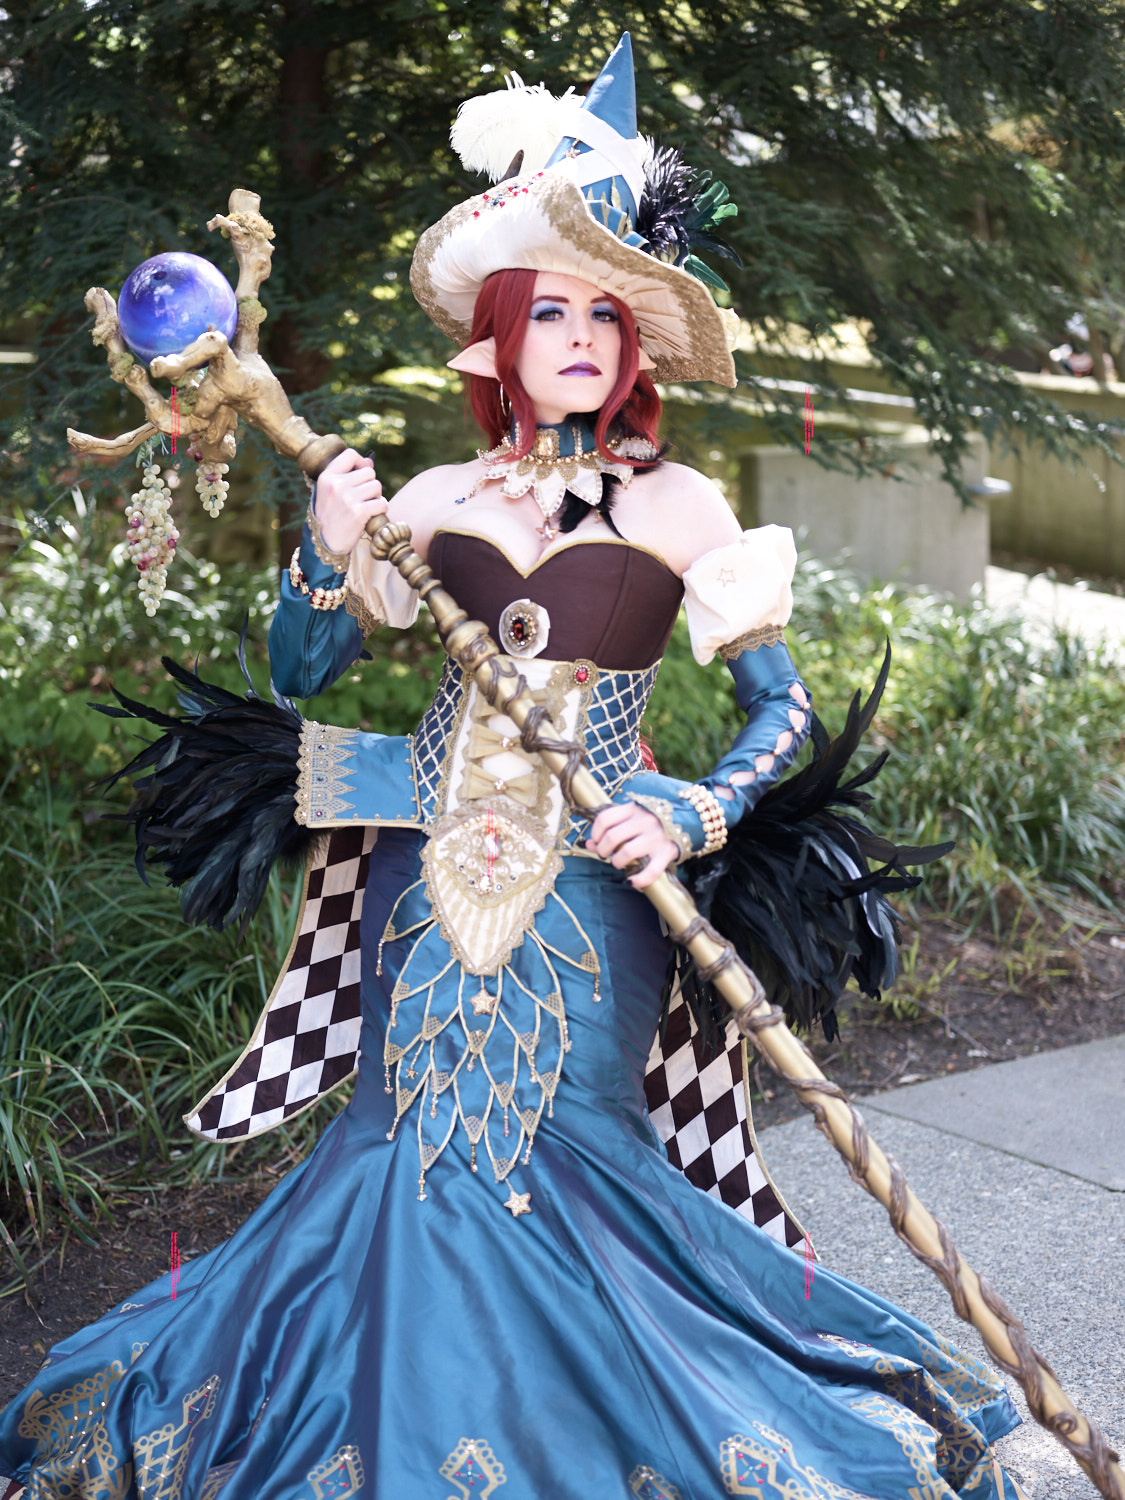
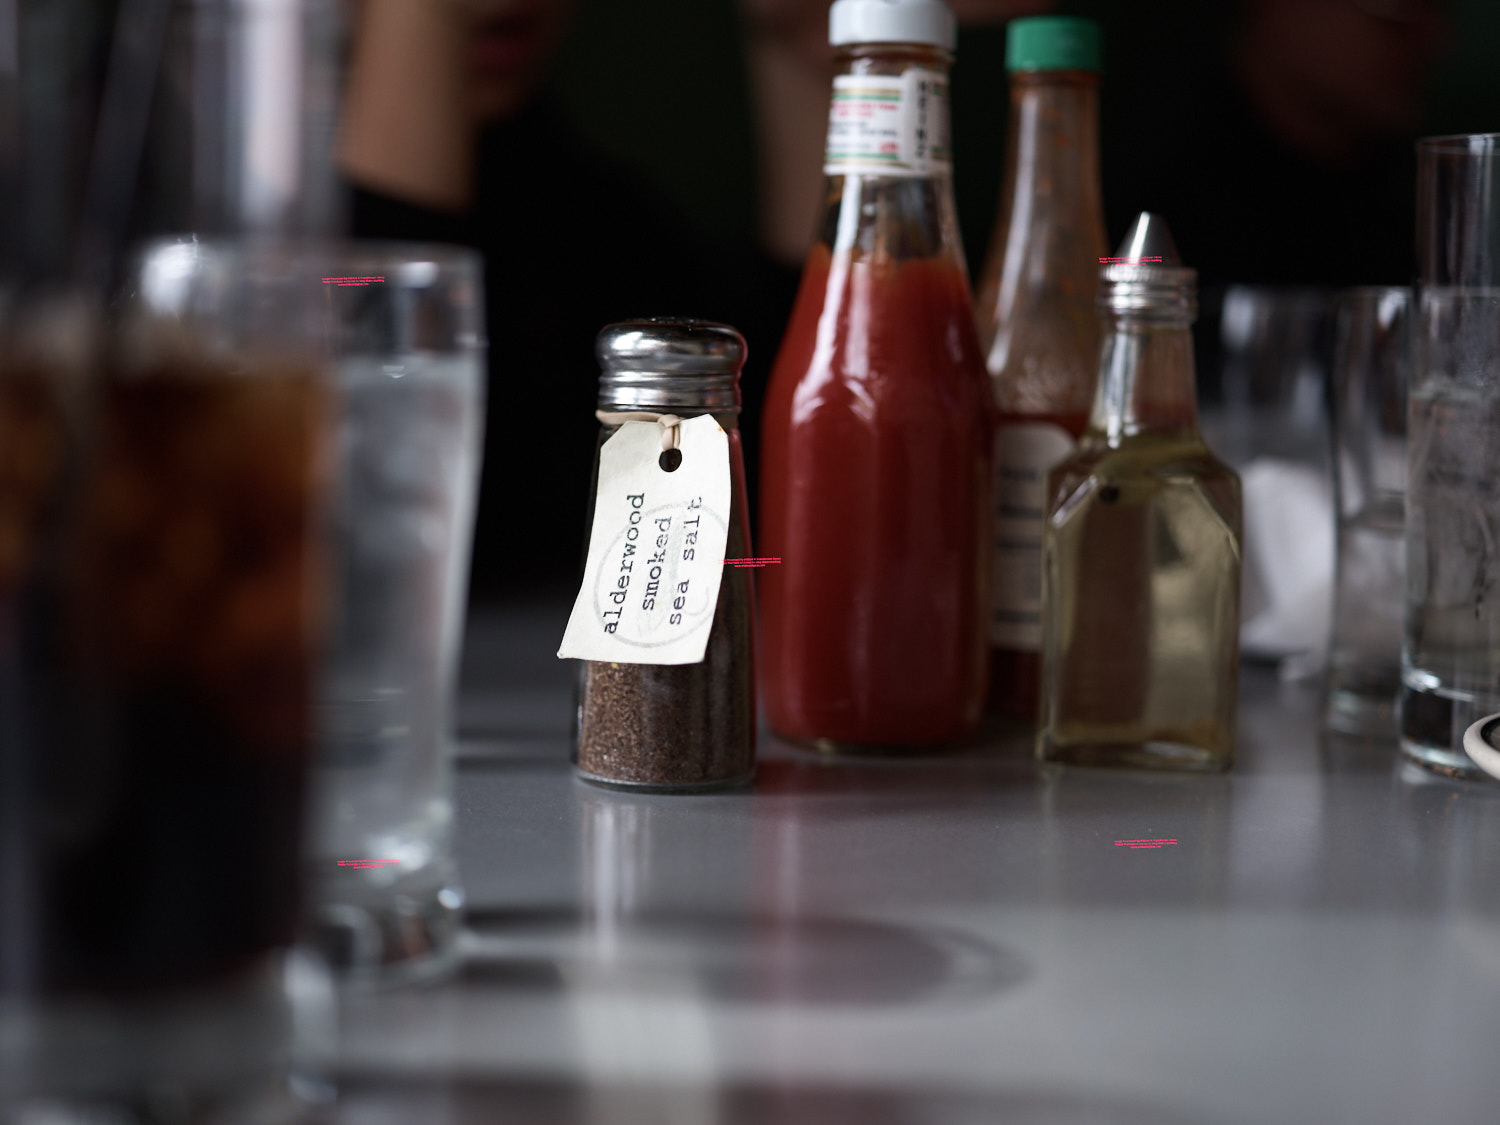
[justified_image_grid ids=3205,3206 thumbs_spacing=5 row_height=300 height_deviation=50 limit=0 max_rows=1]
The workflow using RFC is:
File > Open folder (⌘F)
Select the folder (or SD card) with the RAF files
Edit > Select all scenes (⌘A)
Development > Batch development for selected scene...
Execute
Import TIFF files into Capture One
RFC is kind of clunky (and definitely not Retina compliant), but at least there are a few keyboard shortcuts to speed up the process a bit. The colors of the TIFF look true to the JPEG files rendered in camera, which is a huge bonus. File size is not so hot, coming in around 300 MB per file on average using LZW high compression. Batch converting 100 RAF files took roughly 1 hour to finish.
Also worth noting is that the RFC conversion applies some sort of distortion correction.
Color: Accurate
Average File Size: 300 MB
Average Time to Convert RAF to TIFF: 100 seconds / photo


Adobe Bridge ⟶ Adobe Camera Raw ⟶ Capture One
Adobe Bridge CC is essentially a file browser that will let me inspect all of the RAF files in a folder (or SD card). The same mechanics can also be accomplished in Lightroom (as Bridge is probably incorporated into Lightroom), but I'd like to bypass the whole cataloging experience that Lightroom brings with it.
The real heavy lifting will be done by Adobe Camera RAW (ACR for short) which performs the raw file conversion to TIFF. ACR is only accessible via another Adobe product (Lightroom, Bridge, or Photoshop), so I chose Bridge since it's the lightest weight option.
Like the previous RFC workflow, I am really only interested in performing a quick and painless conversion to TIFF. All of the heavy editing will happen in Capture One, or Photoshop if needed. For the TIFF conversion settings, I created a preset to generate 16-bit zip-compressed TIFF files using ProPhoto RGB color space.

The workflow using ACR is:
In Bridge CC, navigate to the folder (or SD card) with the RAF files
Edit > Select All (⌘A)
File > Open in Camera Raw... (⌘R)
In Camera Raw, select all images again (⌘A)
Click on Save Images...
Click on Save
Import TIFF files into Capture One
Since the workflow is just using default settings in ACR, it looks like the film simulation color profile is not automatically applied and the standard Adobe color profile is used instead. It's not the end of the world, but also not really expected. From an ease of batch processing standpoint it's easy enough, but it does feel strange to have one program open another to do the real work. File sizes come in around 250 MB per file. Zip compression seems to work well.
Color: Close; no film simulation applied
Average File Size: 250 MB
Average Time to Convert RAF to TIFF: 15 seconds / photo


Iridient Developer ⟶ Capture One
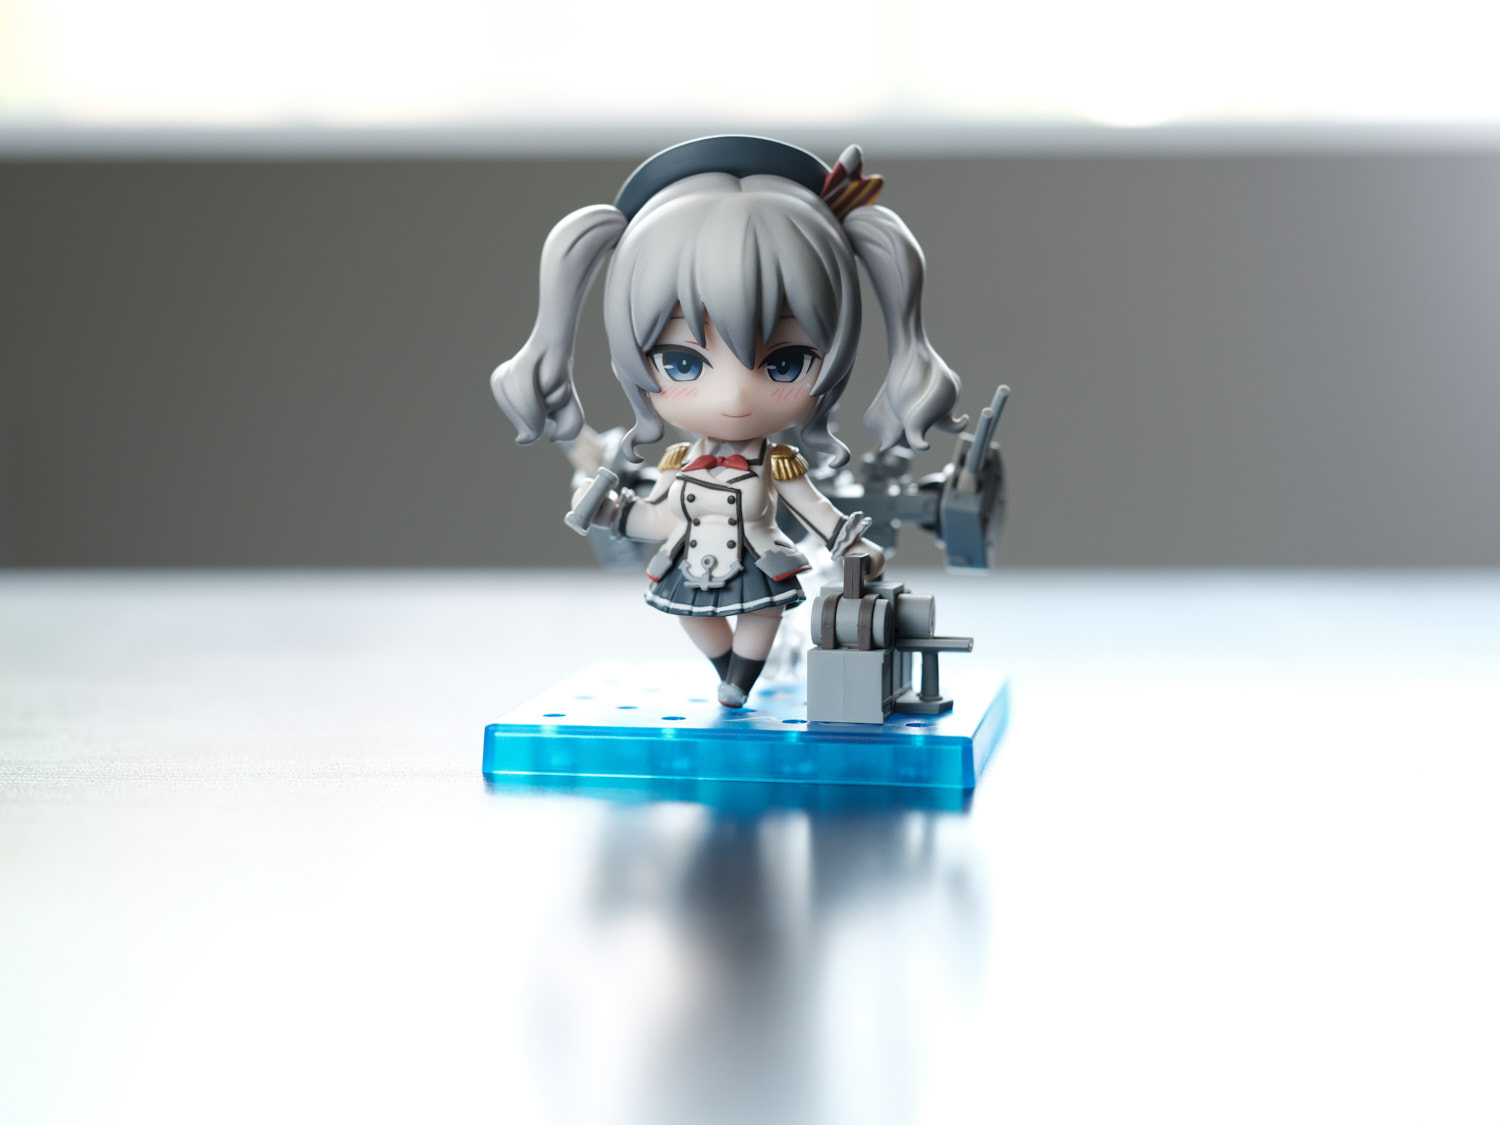
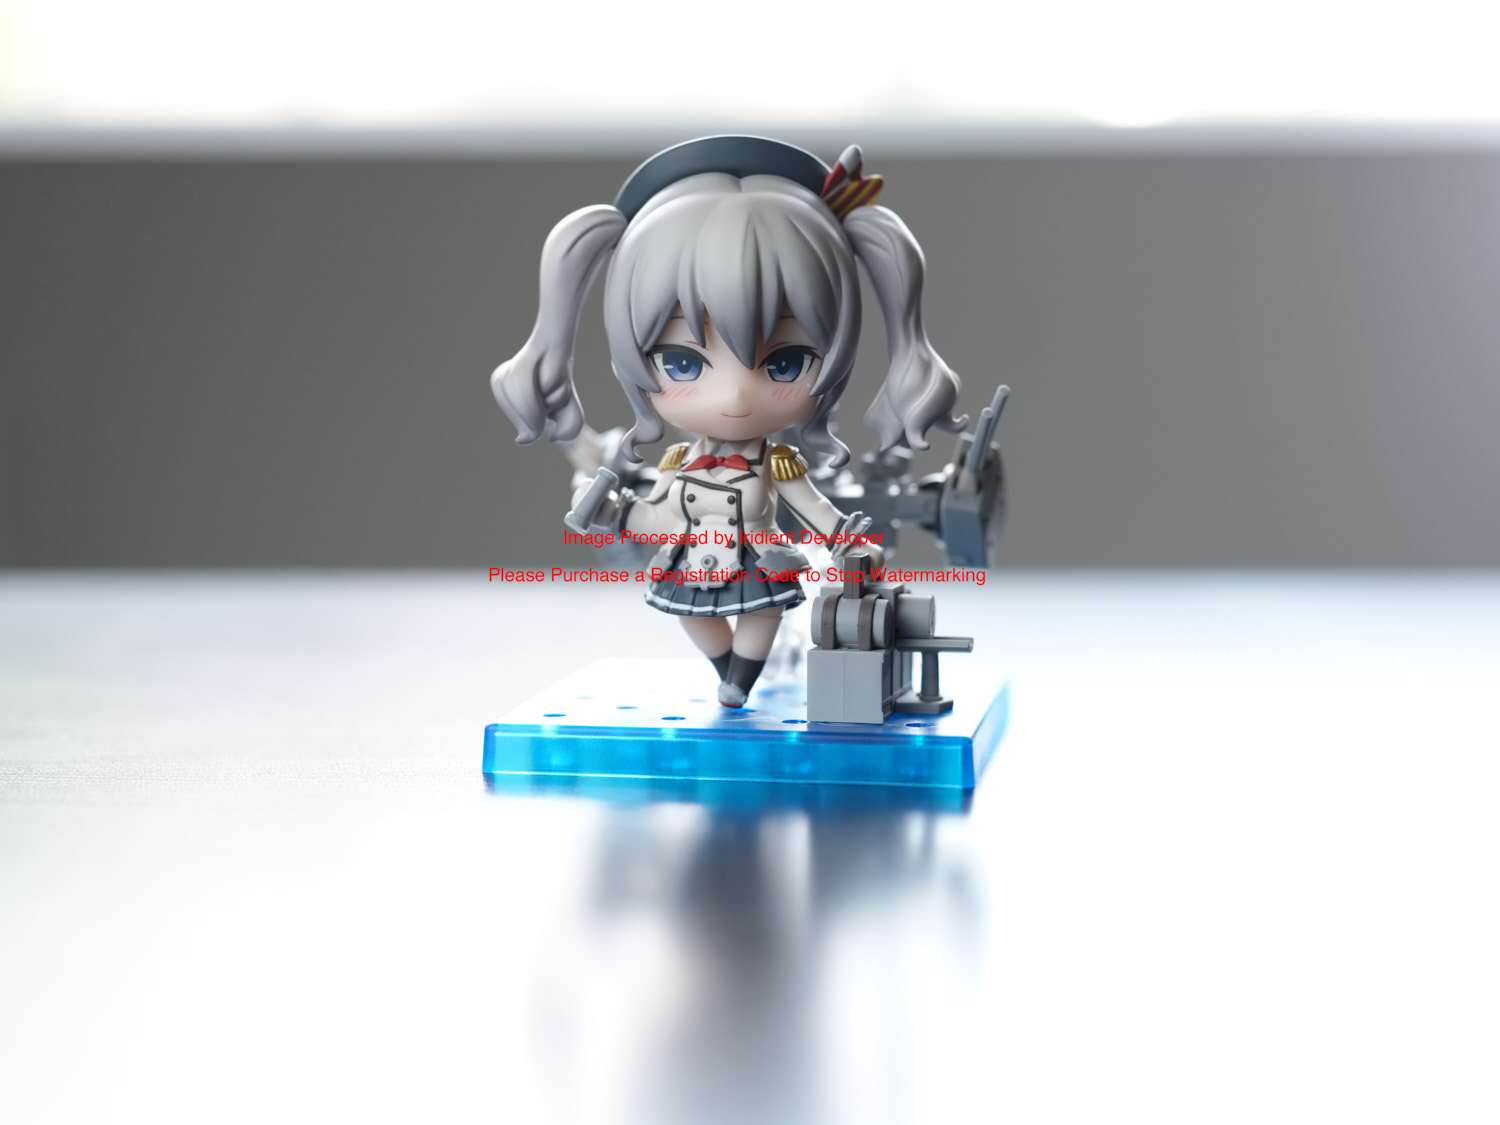
Prior to obtaining the GFX, I've never heard of Iridient Developer before. It appears to be a decently capable editing program in its own right, but my interest lies in its ability to convert the GFX RAF files into TIFFs. I used only the default settings in Iridient Developer (ID for short). When exporting, I chose 16-bit compressed TIFF using the ProPhoto RGB color space.

The workflow using ID is:
Select the folder (or SD card) with the RAF files
Edit > Select All Images (⇧⌘A)
File > Batch Process Selected Image(s) (⇧⌘E)
Import TIFF files into Capture One
Like the ACR workflow before, I'm not entirely sure if the film simulation color profile is being applied at all. Batch processing was very easy. All it took was a couple of keyboard shortcuts and it was off to the races. I really appreciated that! File size seems more manageable clocking in around 220 MB on average.
Color: Close; no film simulation applied
Average File Size: 307 MB
Average Time to Convert RAF to TIFF: 37 seconds / photo


Iridient X-Transformer ⟶ ExifTool ⟶ Capture One
The last workflow I tried involved Iridient X-Transformer (IXT for short). It's a single purpose tool made by the same developer of Iridient Developer that converts raw files into DNG files. However since GFX DNG files are still not importable into Capture One, the EXIF data is hacked a bit to trick Capture One.
In IXT, I changed the RAW process to smoother, turned off sharpening and both noise reductions. For the output DNG settings, I enabled lossless compression.
The workflow using IXT is:
Click on Select Image(s) to Convert... and select the folder (or SD card) with the RAF files
In Terminal, navigate to the output folder and run the command: exiftool -Make="FUJIFILM_" *.dng
Import the modified DNG files into Capture One
While ease of batch processing is very good, color rendition is pretty terrible. I'm also not sold on the idea of mangling the EXIF data. However, the DNG file sizes are quite reasonable; averaging around 130 MB per file.
Color: Not accurate
Average File Size: 130 MB
Average Time to Convert RAF to TIFF: 12 seconds / photo


Summary
I've included the same files that were compared in the previous sections, but stacked into an animated GIF to illustrate the differences between the workflows.


Alternatives
Honestly, the alternative to this entire mess is to just give up and use Lightroom. At the end of the day it'll get the job done. No conversion of the RAF files needs to be done, smaller file sizes, and the color isn't terrible; only the editing experience is subpar.
Parting Thoughts
All Capture One workflows are not ideal, just compromises.
One of the stranger things I've experienced using the converted TIFF files in Capture One is highlight recovery and white balance do not work as expected. Highlight recovery in particular will tend to darken the entire image instead of just reducing the highlight area when compared to the DNG with the same operation. The result is that the TIFF image looks very muddy.

At the end of the day, there are just too many problems and compromises with using the TIFF versions of the RAF files in Capture One.
Thus there are really only two options left:
Convert the RAF files into DNG before importing into Capture One.
Not use Capture One.
For the time being, I've resigned myself to just not using Capture One for now. In the meantime, I will continue to play with the DNG workflow in the hopes that I can manage something reasonable.
I remain hopeful that a future Capture One update will have GFX support, but I must edit photos in the here and now. I hope that you found this article helpful!